> How-to
Repairing Holes in a Mast
Thinking about painting your mast and boom, or spinnaker and whisker pole? Learn how to fill unwanted holes first, before you prime and paint!
Sailboat spars quite often get hardware attached, removed, and replaced over the years, sometimes leaving unwanted holesbehind. This especially happens on race boats where boat owners tend to move hardware around to improve the usability of their controls.
To fix this problem the basic idea is to fill all of the old holes with some sort of filler before you paint. Since there isn’t much surface area for a filler type material to grab onto we chose to fill them with machine screws. Once the machine screws were in place we cut the head off and ground the shank of the screw flush with the surface of the mast.
To make sure we didn’t use dissimilar metals we used aluminum screws as the filler. This made them easy to cut off and sand flush with the surface of the mast. The best place to find aluminum screws is online. We found ours online at Mutual Screw & Supply. Kind of a funny name but a great resource!
This method worked extremely well and was relatively easy to accomplish. Plus, our painted spar looked brand new when the job was complete!
Check out the steps below to learn more.
Article idea and photos submitted by Jamie Downing. Article written by Kim Downing.

How-to: Filling the Holes in the Mast
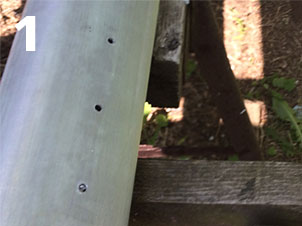
Drill New Holes
The first step was to redrill the existing holes. We chose the correct sized drill bit to match the tap we used. In our case, the tap we used was a 1/4-20.
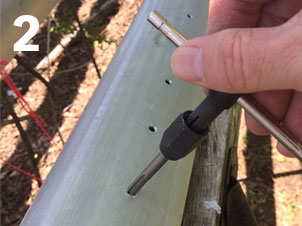
Tap the Holes
Once the new holes were drilled we chose a 1/4-20 tap and slowly tapped each hole. This provides threads for a machine screw to thread into.
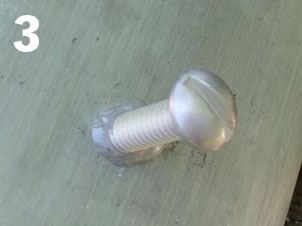
Install the Machine Screws
Next, install aluminum machine screws into the holes. We dabbed a little epoxy on the threads first to lock them in place.
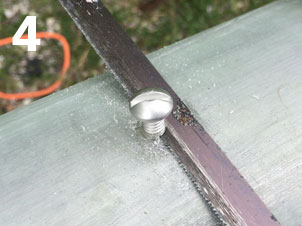
Cut off the Machine Screw
After the epoxy dried we cut the machine screw off just above the surface of the mast. A hacksaw with a bi-metal blade made quick work cutting them off.
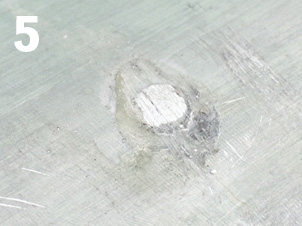
Sand the Screw Flush
Sand the screw flush with the surface of the mast. A hardwood stick with 60-grit self-adhesive sandpaper made is easy to sand the aluminum machine screw flush.
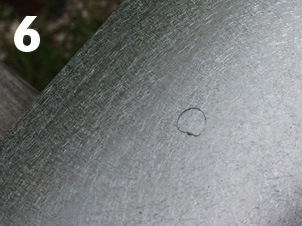
Sand the Screw Down Completely Flush
To remove the sanding marks from the previous step we lightly sanded the area using a random orbit sander with 80-grit sandpaper.
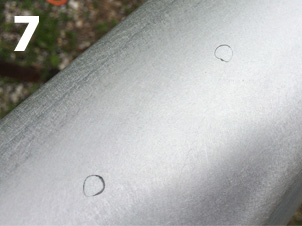
Final Sanding
A final sanding was done with a random orbit sander with 100-grit sandpaper. This removed any deep scratch marks and also prepped the rest of the mast.
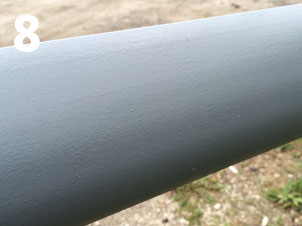
Prime the Mast
Once the holes were filled and the entire mast was sanded we primed it with a good metal primer that was designed for aluminum. We used a 2-part linear polyurethane for the final coat.
